In this tutorial configure NZBGet Synology DSM 6. Let’s configure NZBGet. To download from the newsgroups. And we secure NZBGet with a username and password.
If you run into problems during the configuration. Then see NZBGet error messages with solutions page.
Open your browser and go to http://your-nas-ip-address:6789. The username and password is what you entered during the installation. And otherwise it defaults to the username nzbgetand password is also nzbget.

If you have NZBGet open in your internet browser. Then you go to Messages.

Check that no error messages are displayed here.

Now go to Settings.

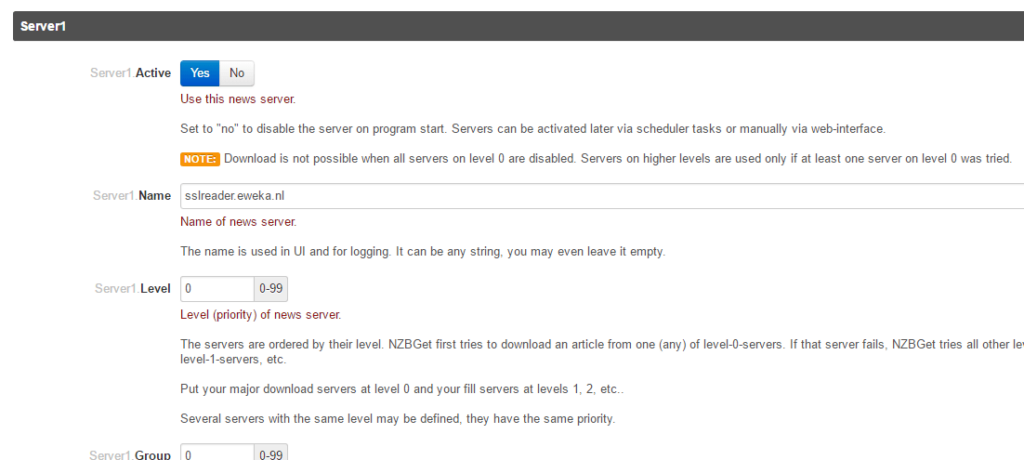
Now we go to the tab NEWS-SERVERS. You now need the data from the news server. Which you use to download from the newsgroups. You can often find this information in the welcome email of your Usenet provider. See also Free news servers. Add this free news server, as a backup. So that if something is incomplete with your main news server. That NZBGet tries another news server.
Name You can come up with your own name.
level The first news server is 0. If you add some free news servers, set it up 1. Then NZGet will first try to download everything via the 0 server (main server) if that does not work Then NZBGet will try everything with level 1.
Host This is the address of the news server You can often find this in your welcome email.
Port This is 563 if you are using SSL. If you do not use SSL, it is often 119. My advice always use SSL!
UserName You can often find this in your welcome email.
PasswordYou can often find this in your welcome email.
Encryptturn on, if you use SSL. My advice is turn this on!
Connections 4 is plenty. And then you often have some left over for other things like SpotNet.
RetentionThe retention can often be found. On the website of your news server provider.
Repeat the above for each news server. Only sets Level to 1.
Click Test Connection. If that went well. Then you can add more servers.

Now we go to the Tablad SECURITY.
Enter your desired username and password in ControlUsername and in ControlPassword. Safety comes first!
I also recommend that you change your port. I myself use port 8085. So you can easily set up your ports. In a certain range on your router. Because I then put Sonarr back on port 8086, for example.

Scroll down and at the bottom left there is a button hiding Save all Changes. Press on it.
Once you’ve changed the port, you’ll need to restart NZBGet. You can do this via Synolgy. Or you will receive a notification from NZBGet itself. And then an option to restart.
You are now done with the configuration of NZBGet. And you can download from the newsgroups now. By importing NZB files. For more information about NZBGet see NZBGet tutorials.
NZbGet tutorial Synology


Be the first to comment